How To Use Crimp Beads
Materials Needed:
- Crimp Beads
- Bead Stringing Wire
- Nail Clippers
- Crimping Pliers
- Crimp Bead Covers
- Bent Nose Pliers
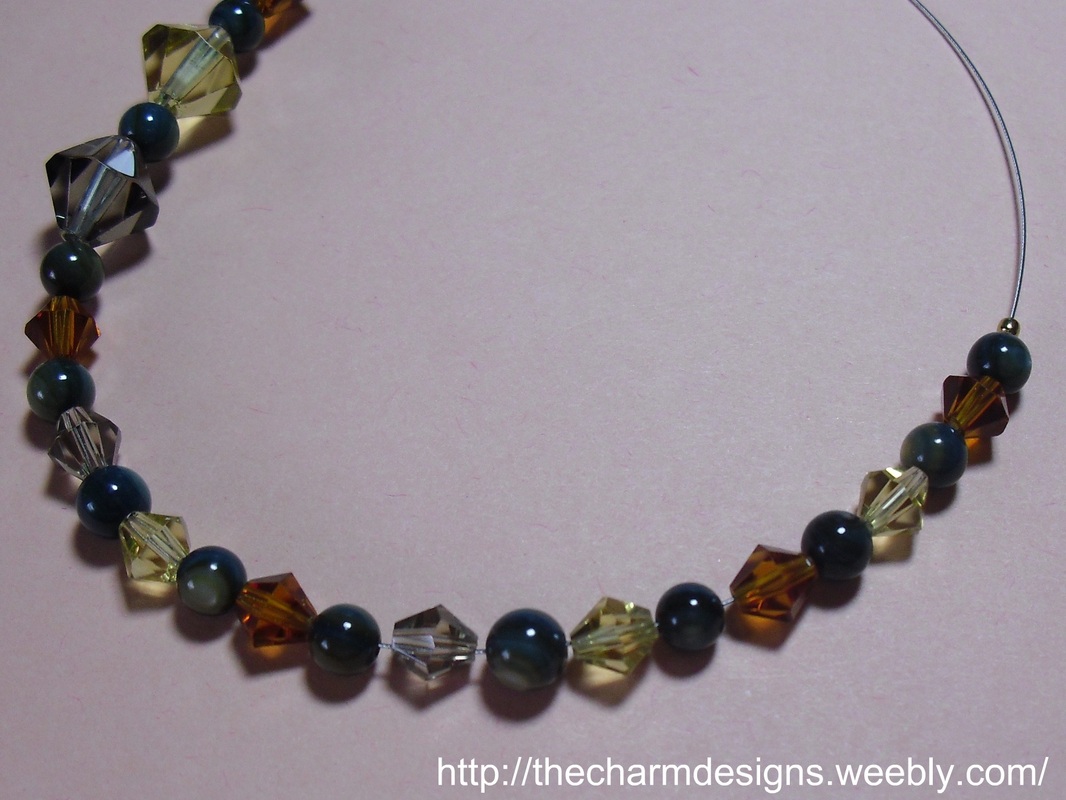
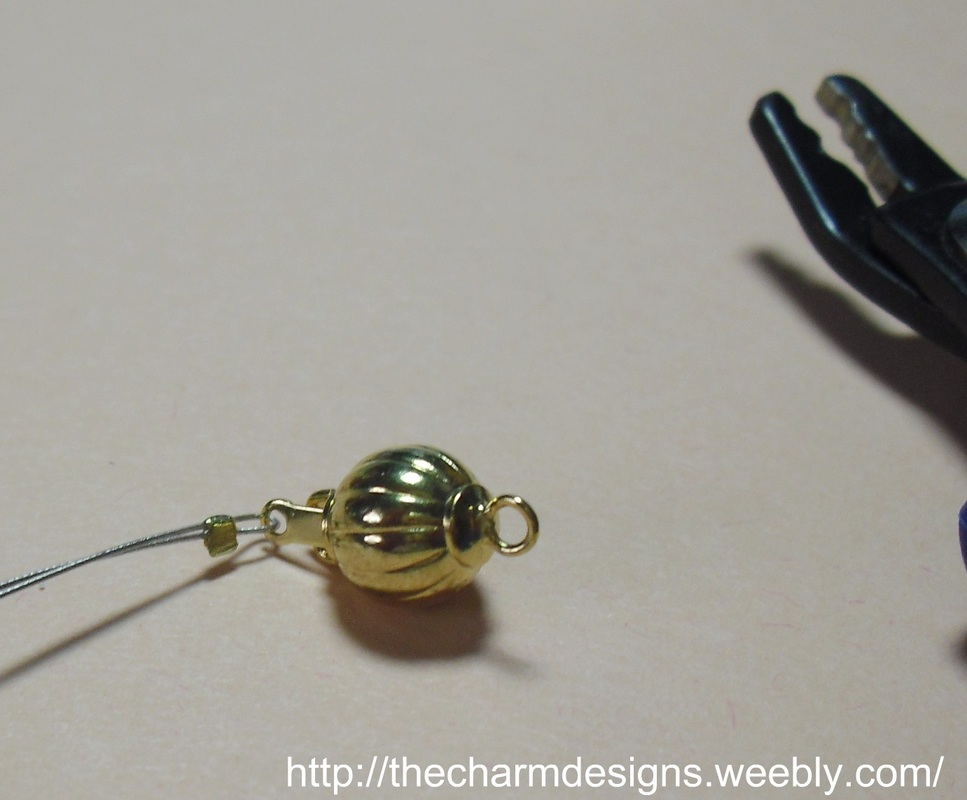
Step 1: String on a crimp bead and the entire necklace right onto the spool of beading wire. This helps save stringing material. Once you have your necklace strung, add another crimp bead.
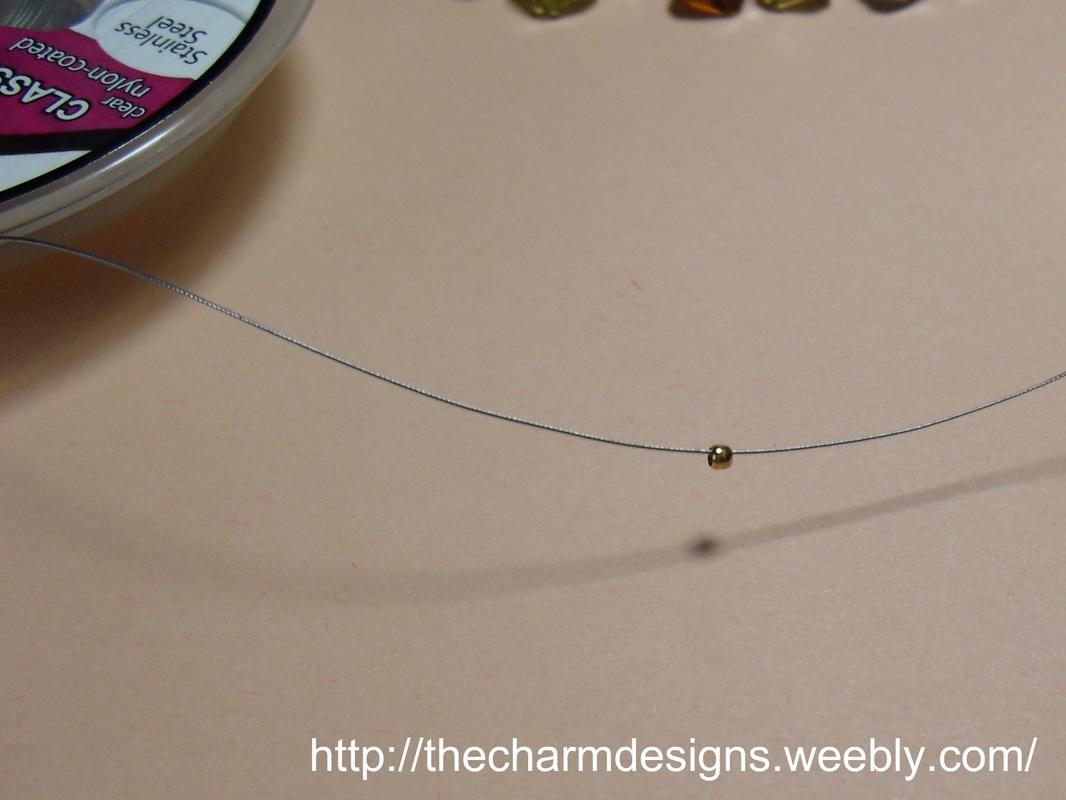
Beginning. See the Spool?
Necklace End
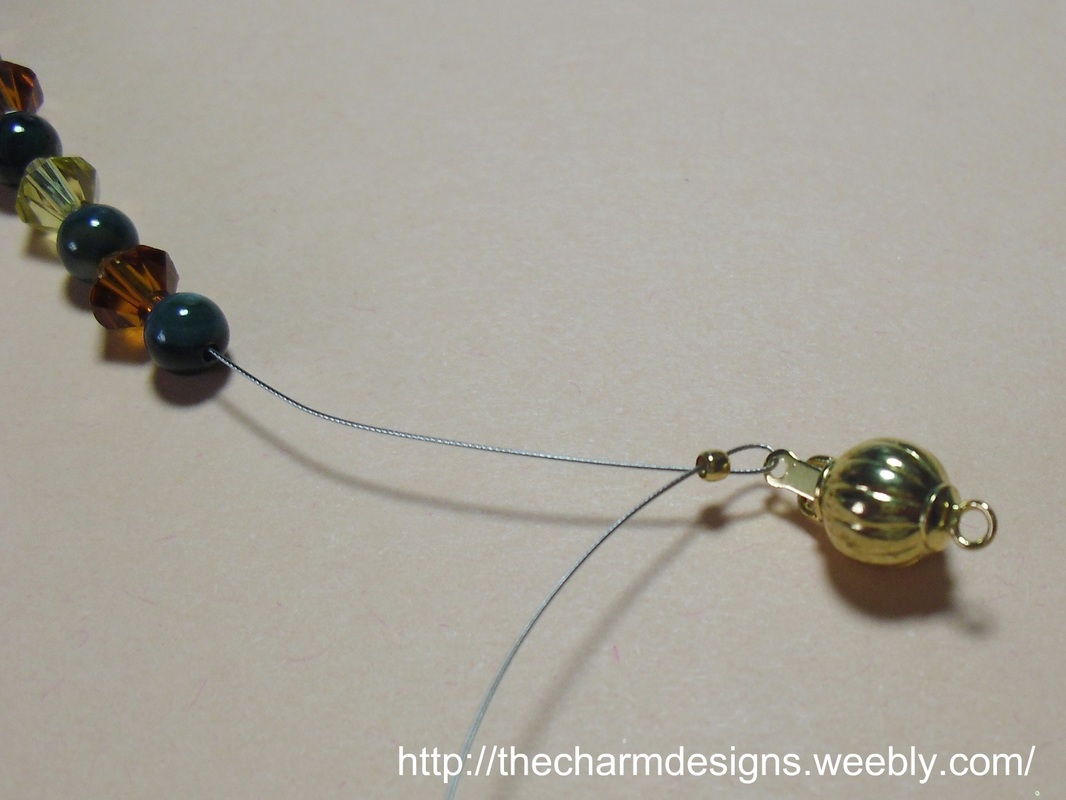
Step 2: Pass the beading wire through one of the loops on the clasp and back through the crimp bead.
Step 3: Now you crimp. You will notice that crimping pliers have 2 sections. When you close the pliers, one forms a crescent shape and the other forms a small oval. First press the crimp bead with the crescent, the crimp bead will flatten and have a "fold" in the middle. Next, place the crimp bead in the small oval section and press it, the bead will be completely folded. It should have a tight hold on the beading wire.
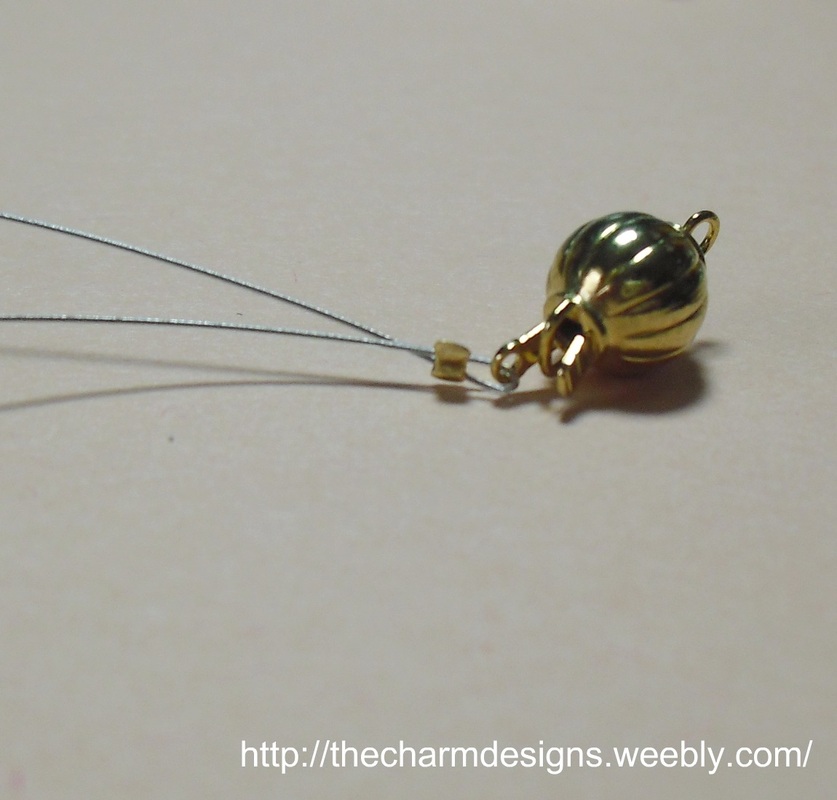
See the fold?
Folded and flattened completely
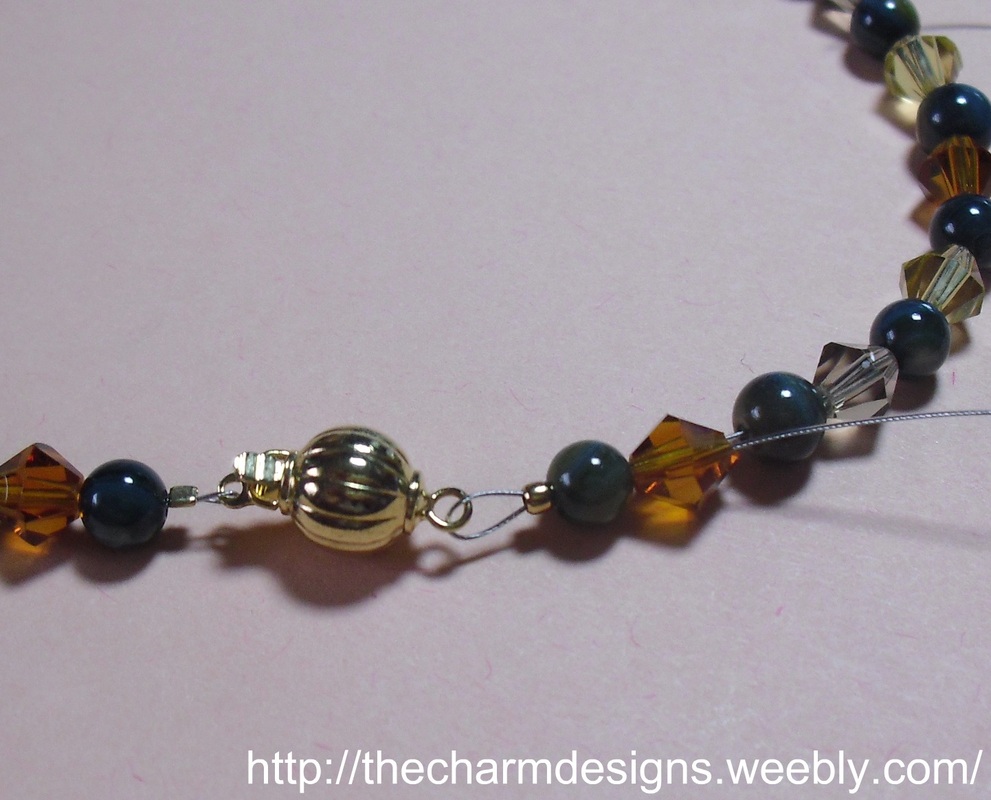
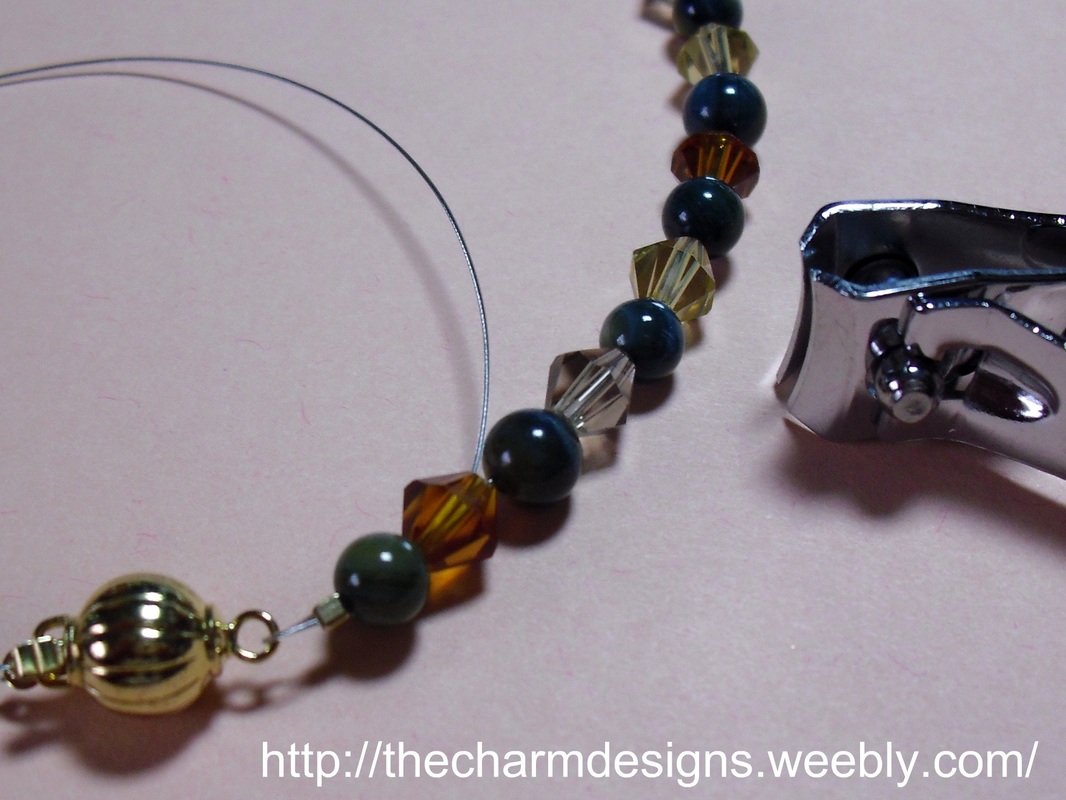
Step 4: Slide all of the beads towards that end of the necklace. You don't have to trim the excess wire, just slide the beads over it.

Step 5: Once you have moved all of the beads, trim the beading wire so that that you have about 1 1/2 inches of wire left. Pass the wire through the other loop of the clasp, back through the crimp bead and pass through the adjacent bead. Pull so that there are no gaps in the necklace, but make sure it's not too tight, otherwise the necklace will be stiff. Crimp and use nail cutters to trim excess beading wire.
Step 6: (Optional) To make your piece look more professional, use crimp covers to hide the crimp beads. Tuck the crimp bead inside the hollow center of the crimp cover and use bent nose pliers to gently close it so that it looks like a round bead.
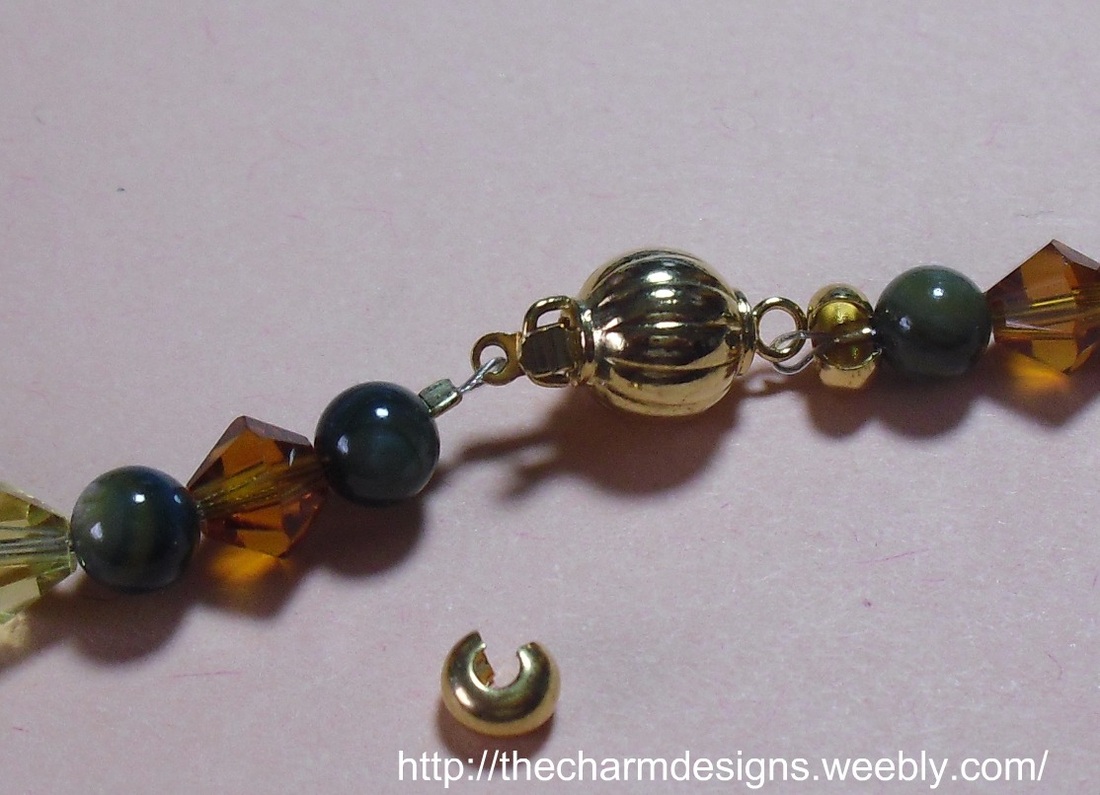
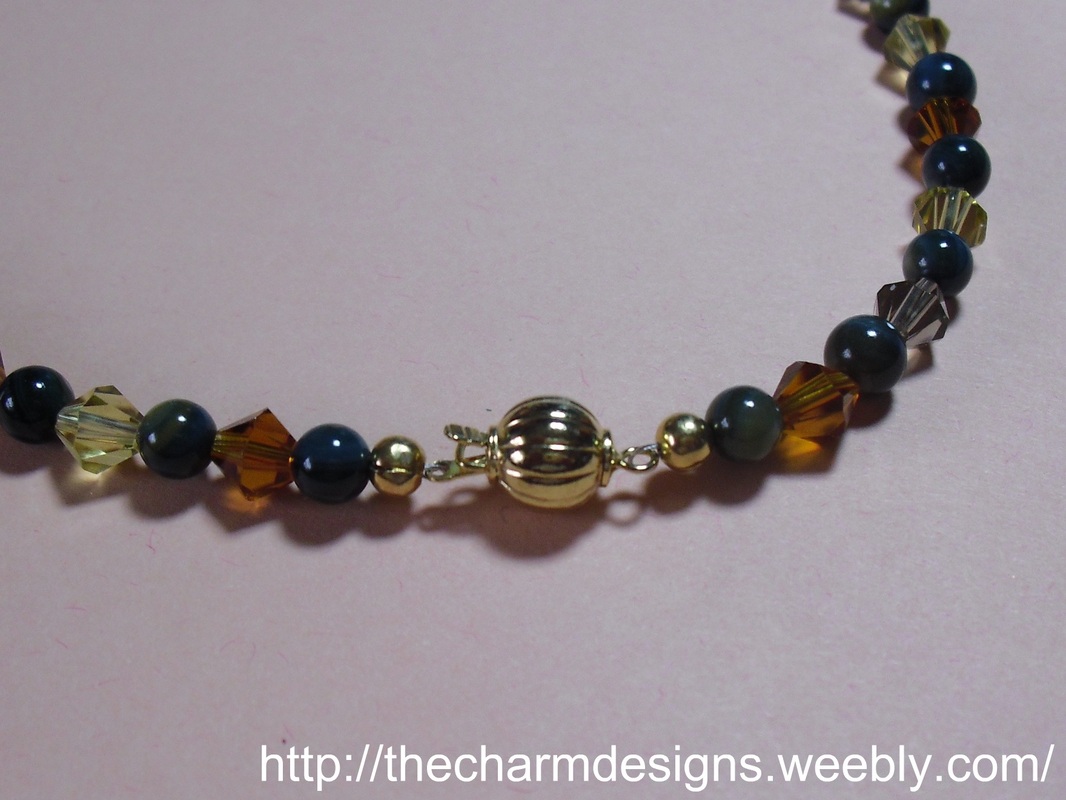
A professional finish
